Before we start on the juicy bits of programming in a later post, we should first set up the software that enables us to code. Visual Studio is widely used on the Windows platform for software development and game development, which makes it the ideal IDE (Integrated Development Environment) to use.
In the soon-to-come Programming Fundamentals posts, we will explore Visual Studio Console applications. However, once such foundations have been established, it can be used for much more.
First of all, let’s locate the website for Visual Studio – simply ‘www.visualstudio.com’. There are four options displayed on the page; the one on the furthest left, Visual Studio IDE is the one we need. There are three versions of Visual Studio: Community, Professional, and Enterprise. The Community edition is free, with all the features we need to get started with. Let the download commence!

After a little bit of processing and extraction, a little window will appear like this:

You can simply click continue, and accept the terms – they are nothing special.
The next window is an important one, detailing the features that we would like installed. This is essentially the configuration of the features we will use. While additional features can be added later on, it is easier to add what we need to begin with. This is largely up to you, but there are some default options that I would strongly recommend including:
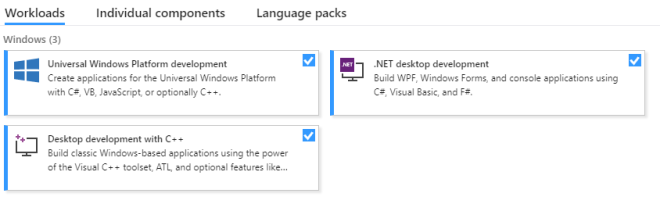
The three of these allow for us to use a range of programming languages: C#, C++, Visual Basic and more. We also gain access to various application types that will become handy later on.
To finalize the process, simply click Install – then wait for it to set the environment up for you. The IDE will ask for an account to log in, which can be a Google account or a new one.
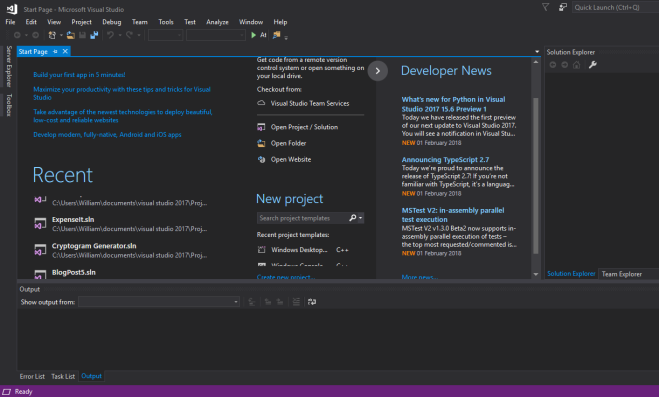
Once installed, Visual Studio may greet you with a sight similar to the above. This is the main page, displaying recent projects and various other options – ignore them for now.
Before using Visual Studio, we should first familiarise ourselves with Solutions, Projects, and Files.
Whenever you create a new project, a solution will be created along with it. Projects essentially belong to a solution, and therefore a single solution can have different projects. Files are contained in projects, acting as the content. A file is created by default for us to write code in.
You can think of those three in a hierarchical way: Solutions > Projects > Files.
With that said, Visual Studio should now be set up, and working correctly. The next post will introduce how we create projects in Visual Studio, the idea of variables and the various data types that exist within programming. Until next time.
